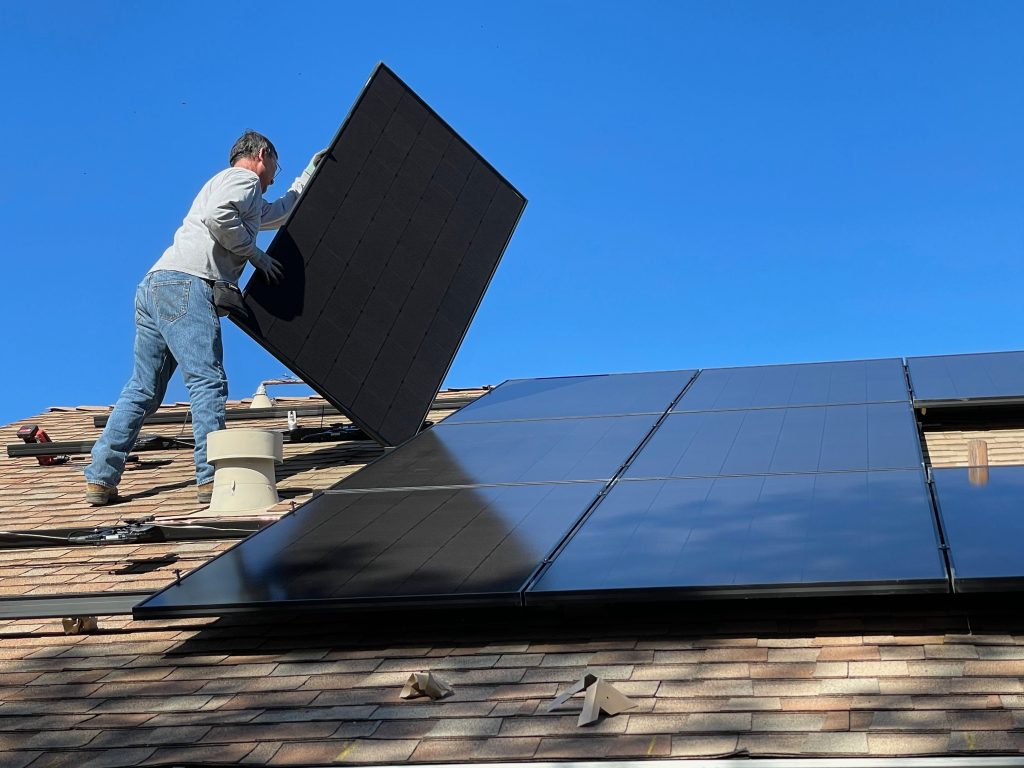
More than two million homes in the United States now have solar panels installed.
The solar installation process starts with an initial consultation where professional installers will help you find the perfect system for your home. While the entire process used to take very long, modern technology has decreased both the cost and time of the installation.
If you’re considering installing solar panels in your home, it’s beneficial to look at the entire process to get a good idea of how long it will take to get everything up and running.
Wondering how long solar installations take? You’ve found the perfect blog. Here’s a complete guide to help you through the entire solar installation process.
Step 1: Site Visit
As mentioned above, the solar installation process begins with an initial consultation. Solar installation professionals will then set a date to visit your home to get a good idea of what your home’s needs are.
This initial visit is important because every home is unique. During this consultation, the installers will let you know how many solar panels you need, where to install them, and what kind of solar panel would work best for you.
Solar Panel Costs
The most important part of the initial consultation is the price estimate that comes along with it. This estimate will let you know if you can afford the kind of system that they recommend. However, the budget you decide on can also help guide the installer’s decisions.
Once you let the solar installer know what your budget is, they can use this to design the perfect system for you.
The sunlight your home gets can also contribute to deciding what kind of solar panels are best for you. If your home does not get too much sunlight daily, you should prioritize more efficient panels such as a monocrystalline panel.
Monocrystalline panels are made using a single crystal of silicon. This makes the entire panel more efficient but more complicated and expensive to produce simultaneously.
Step 2: Permits and Paperwork
Once you have received a final quote from your solar installer, you should ensure that all the paperwork and permits are in order. While the regulations may differ from state to state, you must ensure everything is in order before starting your installation.
Government Incentives
Local and Federal incentives have helped over two million homes switch to solar energy. These incentives are different in every state but are designed specifically to make solar panels more affordable than ever.
The Federal incentive offers a tax credit that helps directly reduce your taxes in the course of the year you install your system. This means that you won’t get an immediate discount on your installation but will get the money back later when you submit your year-end taxes.
This rate is set at 26% for all systems installed between 2020 and 2022 but decreases to 22% in 2023. This makes it the perfect time to switch to solar.
Step 3: Solar Installation Process
 Solar installation can take anywhere from one to three days, depending on the complexity of the system you want to install. For commercial buildings, installing solar panels can take even longer due to the complex wiring and rewiring of the building’s electronics.
While each solar installation can look different depending on your home, you can see the process directly from an experienced solar installer to give you a better idea of what the process looks like.
Solar Installation Cost
The cost of installing solar panels is directly linked to the size of the system you want to install. If you want to install a small 3kW solar panel, it will take much less time than a 30kW system with a backup battery pack.
In addition to bigger systems taking more time, they are also more expensive to install. The average solar panel system in the United States is around 6kW. These solar panel systems take a full day to install and come with an installation cost of around $15,000.
While this is the average cost for residential property in the United States, each home is completely different. This is why you should always ask for a solar installer to come and take a look at your home before giving you an accurate quote.
Step 4: Connection
The last step of the process is to connect the solar panels to your home. If you have a battery and an inverter, solar professionals will test these to ensure everything works.
Some homes prefer to have the solar panel work exclusively through the inverter, while others may want the solar panel to power only certain parts of the home. Solar installers are skilled at connecting your solar panel system to your home and can set it up exactly how you want it.
A great tip is to avoid using your solar energy for exterior lighting. Instead, you can purchase solar lights with their solar panels and batteries. This gives you the same benefits without putting too much strain on the home’s primary solar panel system.
Switch to Solar Energy Today
The solar installation process starts with a consultation and ends with professionals ensuring that your entire system works efficiently in your home.
Enjoyed this article and want to learn more about reducing your carbon footprint. Feel free to visit our website and review some other interesting articles.