Controlling electrical appliances remotely can significantly enhance home automation and convenience. For those seeking a DIY solution, integrating an Arduino with a 4-relay module offers an efficient and cost-friendly way to automate switching household devices such as lights, fans, or even a coffee maker. This article explores how to successfully setup and control household appliances using an Arduino and a 4-relay module.
How It Works
The 4-relay module acts as a digital switch. Each relay on the board can be triggered by the Arduino, which controls the current flow to an appliance. A single relay can handle high voltage (typically 120V or 240V AC), enabling it to act as a bridge between the low-power control of the Arduino and the high-power electrical components in your home.
Each relay includes a coil that, when energized by a signal from the Arduino, pulls a switch closed and allows the high-voltage current to pass through. Releasing the coil opens the switch, halting the flow.

What You’ll Need
- Arduino Board: Uno, Mega, or any variant
- 4-Relay Module: Standard 5V logic compatible with Arduino
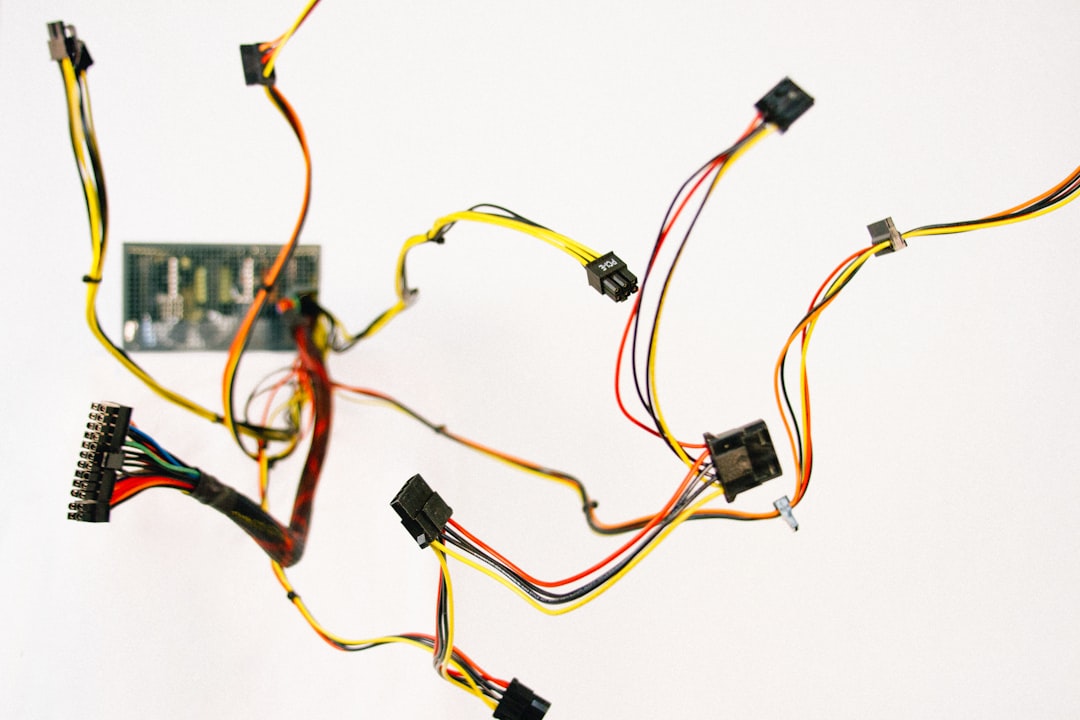
- Jumper Wires: For the connections between Arduino and relay
- Electrical Appliances: Devices you wish to control
- Power Supply: Ensure separate power for high voltage appliances
Wiring Guide
First, connect the IN1-IN4 pins on the relay module to digital pins (e.g., 7-10) on the Arduino. Connect the VCC and GND of the relay module to the 5V and GND pins on the Arduino respectively.
Next, wire the electrical appliances through the relay’s normally open (NO) and common (COM) terminals. When the relay is inactive, the appliance is off. Activating the relay closes the circuit and powers the device.
Programming the Arduino
Use the Arduino IDE to upload a simple sketch that sets the desired digital pins as outputs. Here is a sample code snippet to get you started:
void setup() {
  for (int pin = 7; pin <= 10; pin++) {
    pinMode(pin, OUTPUT);
    digitalWrite(pin, LOW); // Start with all relays off
  }
}

void loop() {
  digitalWrite(7, HIGH); // Turn on Appliance 1
  delay(1000);
  digitalWrite(7, LOW);  // Turn off Appliance 1
  delay(1000);
}
This basic sketch can be modified to include conditions based on sensor input or even be integrated with wireless modules like ESP8266 for smartphone control.

Safety Precautions
- Always disconnect the power before connecting AC appliances to the relay module.
- Ensure your relay module’s specifications can handle the amperage draw of your devices.
- Use proper insulation and enclosures to prevent accidental contact with live terminals.
Expanding the Project
If four devices aren’t enough, consider cascading multiple relay modules or upgrading to an 8-relay module. You can also link sensors like PIR motion sensors or integrate voice control via Amazon Alexa or Google Assistant using modules like ESP8266 or ESP32.
Conclusion
With just an Arduino, a basic 4-relay module, and some simple code, you can control almost any electrical appliance in your house. It’s a flexible, beginner-friendly project that opens the door to more advanced home automation possibilities.
FAQ
- Q: Can I control the relay module using a smartphone?
A: Yes, with WiFi-enabled boards like ESP8266 or Bluetooth modules, you can remotely control your appliances via a mobile app. - Q: How many appliances can I control with one 4-relay module?
A: You can control up to four independent appliances, one per relay. - Q: Is it safe to use this setup with high-power devices like heaters or air conditioners?
A: Use caution. Always check the current rating of the relays. For high-power devices, you might need a contactor or relay with higher current capacity. - Q: Do I need a separate power source for the relay module?
A: It depends. Some relay modules draw more current than the Arduino can handle. Using a separate 5V supply is recommended for stability.