All administrators of WordPress sites want to expand the capabilities of the standard WordPress installation. And to achieve this, they resort to various plugins. When it comes to plugins, we are all well aware that they can be helpful and improve the functionality of our WordPress sites.
Still, if they are unverified, they can do massive damage and disrupt our sites’ regular operation and security. To avoid this, it is essential to choose plugins from verified sources. Also, it is vital to mention plugins that have good user feedback and plugins that are always up-to-date. One such plugin is the Google Maps Widget plugin.
As its name suggests, it is a plugin used to display Google Maps on our WordPress pages. The plugin is secure, regularly updated, and the initial setup and use are effortless and adapted to beginners.
However, suppose you are tired of searching the WordPress repository for a plugin that will display Google Maps. If you want a secure, stable plugin that installs quickly and that is constantly updated, we are more than happy to tell you that we have a solution for you. We are sure that the Google Maps Widget plugin is the best option for you.
Google Maps Widget
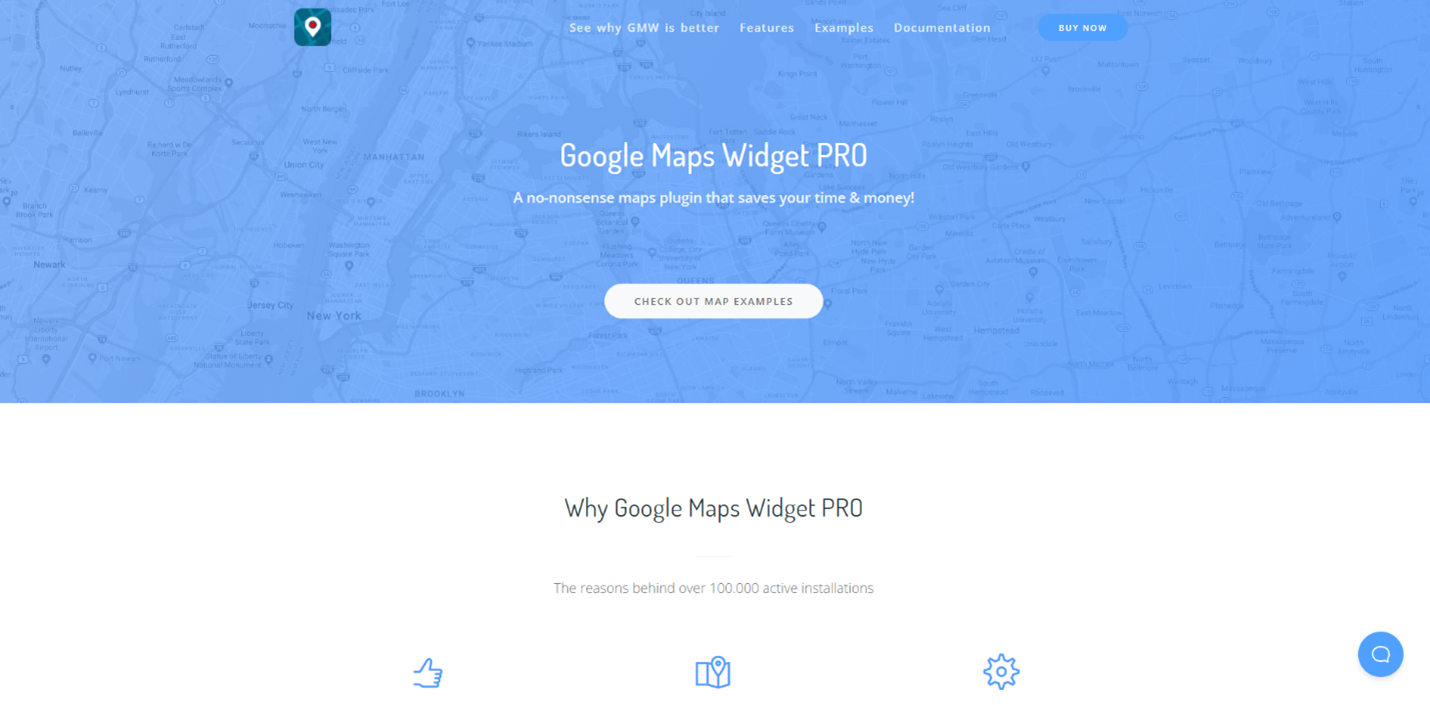
This plugin counts more than 100,000 satisfied users and is compatible with all WordPress themes. The developers of this plugin update it regularly, add new options, and provide excellent support by answering questions on the forum.
There are many reasons why more than 100,000 people use this plugin, and some of the most significant features of the plugin are:
- Ease of use – as we have already mentioned in the text above, this plugin is straightforward and suitable for beginners. After installing the plugin, you can have Google Maps on your site in less than 2 minutes.
- Add an unlimited number of maps – just like you read, you can add an unlimited number of maps and pins in no time.
- Map layout – you can define how your maps look. Street view, directions, and much more view options are available.
- It is easy to add maps anywhere – it is a perfect option that not many other commercial plugins have. Also, if you use shortcode, you can add maps to any part of your page, whether it is menus, pages, posts, or sidebars. Of course, you can also use the classic widget to add a map to the sidebar.
- Adaptability to mobile devices – your maps are not adapted only for desktop and laptop devices. They look beautiful on mobile devices as well as on all screen sizes.
- Easy to customize – it is possible to customize the appearance of maps to match your sites’ design fully.
The list of features that this awesome plugin offers is much longer. However, it depends on whether you use a thumbnail map or an interactive map.
If you use thumbnail map:
- You have 14 predefined color schemes that are ready to use, and with each update of the plugin, you will get new ones
- Ability to specify map colors yourself using any Google Map customizer such as Mapstylr
- The unlimited number of pins – this statement is pretty much self-explanatory. You can add an unlimited number of pins and control the appearance and visibility of each pin individually
- Pin color – each pin can have its unique color
- Four types of map views – hybrid, road, satellite, and terrain
- You can adjust the map language depending on the location
- You have five image formats available for loading maps as fast as possible – PNG 8bit, PNG 32bit, GIF, JPEG, and non-progressive JPEG
If you use interactive maps, you will have:
- 19 lightbox skins, and their number increases with each plugin update
- predefined map colors, there are currently 14 map colors, and with each update of the plugin, there are new colors added
- You can add a custom map color using Mapstylr or any similar tool
- Adding an unlimited number of pins, as well as tuning the look and color of each pin individually
- More than 1500 available pins that you can choose from multiple options such as color, size, and other attributes
- Four map layouts, hybrid, road, satellite, and terrain
- Full-screen maps in lightbox mode
- Pins can be grouped according to different characteristics
- Filtering grouped pins according to the filters you specified
To see all the options and features of this plugin, we advise you to install it. Moreover, there are several ways to install this great plugin.
Installation
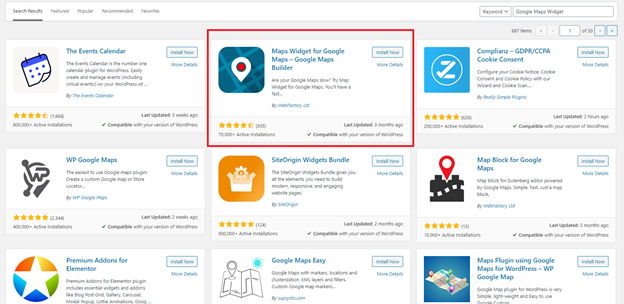
The primary and easiest way is to go to plugins within your WordPress admin dashboard and then type Google Maps Widget in the search box. Then click on “Install Now,” after installation, click “Activate” to activate the plugin. Yes, it is that easy, without additional trouble. Just a few simple clicks and the plugin is all ready to go.

Another way is to visit the plugin’s official website and download the .zip file, that contains the plugin, to your PC. Further, from the WordPress dashboard, click on plugins and upload the .zip file. Wait for the upload to complete, and activate it.
The third way is to download the plugin from the official site and then use an FTP client to upload it to the plugins folder and unzip it. After that, go to the plugins from the WordPress dashboard and do the activation.
If you have decided to purchase a PRO license, we will explain below how to activate it.
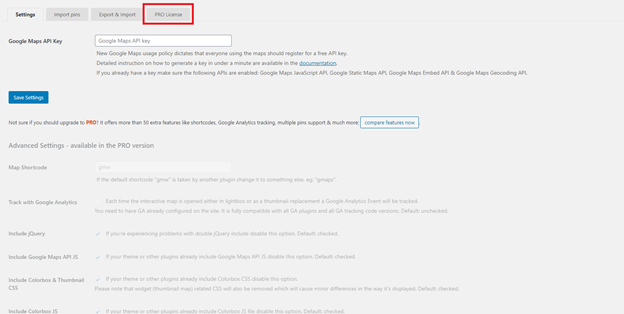
Use one of the three ways to install the plugin that we listed above. After installing the plugin go to Settings -> Google Maps Widget.
You will see that the third tab says PRO License. You will have to enter the license key that you received when purchasing the plugin when you approach it. For the Google Maps Widget to work appropriately, you will need to provide a valid API key from Google.

You can get the API key very quickly from the Google API Console. Below we will list a few steps you need to take to get your API key.
- Open the Google Developers console
- Select “Create a project” from the list of offered options
- After you see the caption “Add credentials to your project,” click on the API key link
- API Key must have a name, enter the name and leave the “Key restriction” option None
- After clicking the “Create” button, your key is created and ready to use
- Copy the key and return to your WordPress dashboard, open Settings, then Google Maps Widget Pro
- Paste your API key and save the changes. After this, your plugin is ready to use.
The important thing is that Google has recently been charging for the use of Maps API. However, this means you will need to set up your billing account. Even if you set it up, it doesn’t mean that you will have to pay anything. Because Google gives $200 every month for free, that will probably be enough for your needs. Your site must have millions of visitors per month for you to spend those $200.
With many options and great features, we can say that this plugin is relatively cheap, and anyone can afford it. There are three commercial plans on offer.

The first plan is PRO Personal and costs $29 / year. Also, this is the cheapest option and includes installation on one site, one year of upgrades, one year of support, and all PRO features. If you use this plan, then you only pay for the plugin while using it.
The second plan is PRO Personal Lifetime. This plan costs $39 / lifetime. However, the crucial fact is that this plan includes installation on one personal site, lifetime upgrades, lifetime priority support, and all current and future PRO features. Also, this is the best option and the best value for money.
The third plan is PRO Unlimited Agency. The price of this membership package is $79 / lifetime. If you buy this package, you can install the plugin on an unlimited number of clients and personal sites. The package also includes lifetime upgrades, lifetime priority support, and all current and future PRO features.
Conclusion
As we have already mentioned, there are a few things to keep in mind when choosing a plugin for WordPress sites. The plugin should be from a verified author, with good user feedback, and regularly updated and adapted to the latest versions of WordPress.
If you are looking for a plugin to display the map on your WordPress pages, then Google Maps Widget is the best solution because it fully meets our listed essential things. Since there is a free version of the plugin within the WordPress repository, we advise you to try it out.
