Ever wanted to feel like you’re walking through a Ghibli-style village or standing under cherry blossoms like an anime character? Good news — you can! With a bit of Photoshop magic, you can place yourself right in the middle of a dreamy, animated world. It’s easier than you think — and a whole lot of fun!
TL;DR
You can Photoshop yourself into anime backgrounds with just a few tools. Use a good photo of yourself and a high-quality anime background. Remove your background, match the lighting and color, then blend it all together. Add filters to create that dreamy anime vibe!
What You’ll Need
- Adobe Photoshop (any recent version works)
- A high-quality photo of you (preferably taken with good lighting)
- An anime background image
- Some creativity and patience
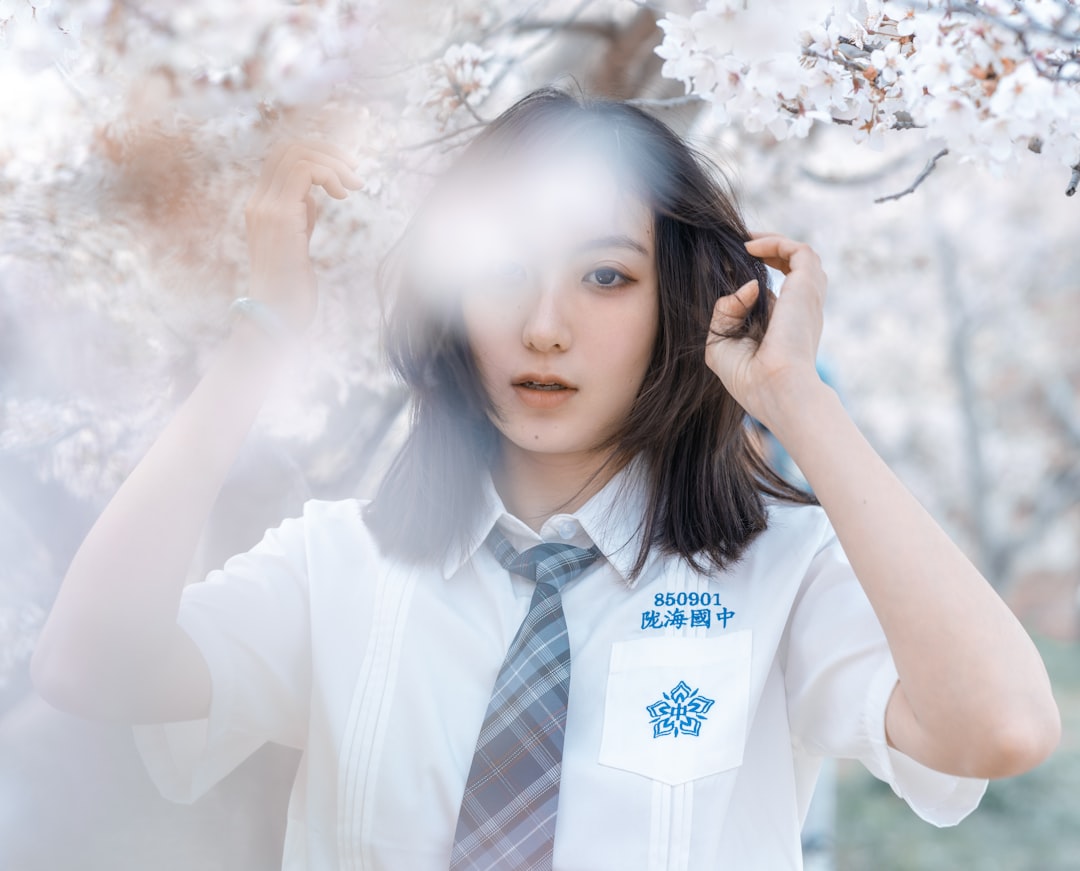
Step 1: Pick the Perfect Background
Start by choosing a beautiful anime background. You can Google for terms like anime landscape wallpaper or anime city background. Choose something with strong composition and vivid colors — that’s the anime style!
Some popular styles to consider:
- Studio Ghibli landscapes
- Makoto Shinkai movie scenes (like from Your Name)
- Slice-of-life settings like classrooms or city streets
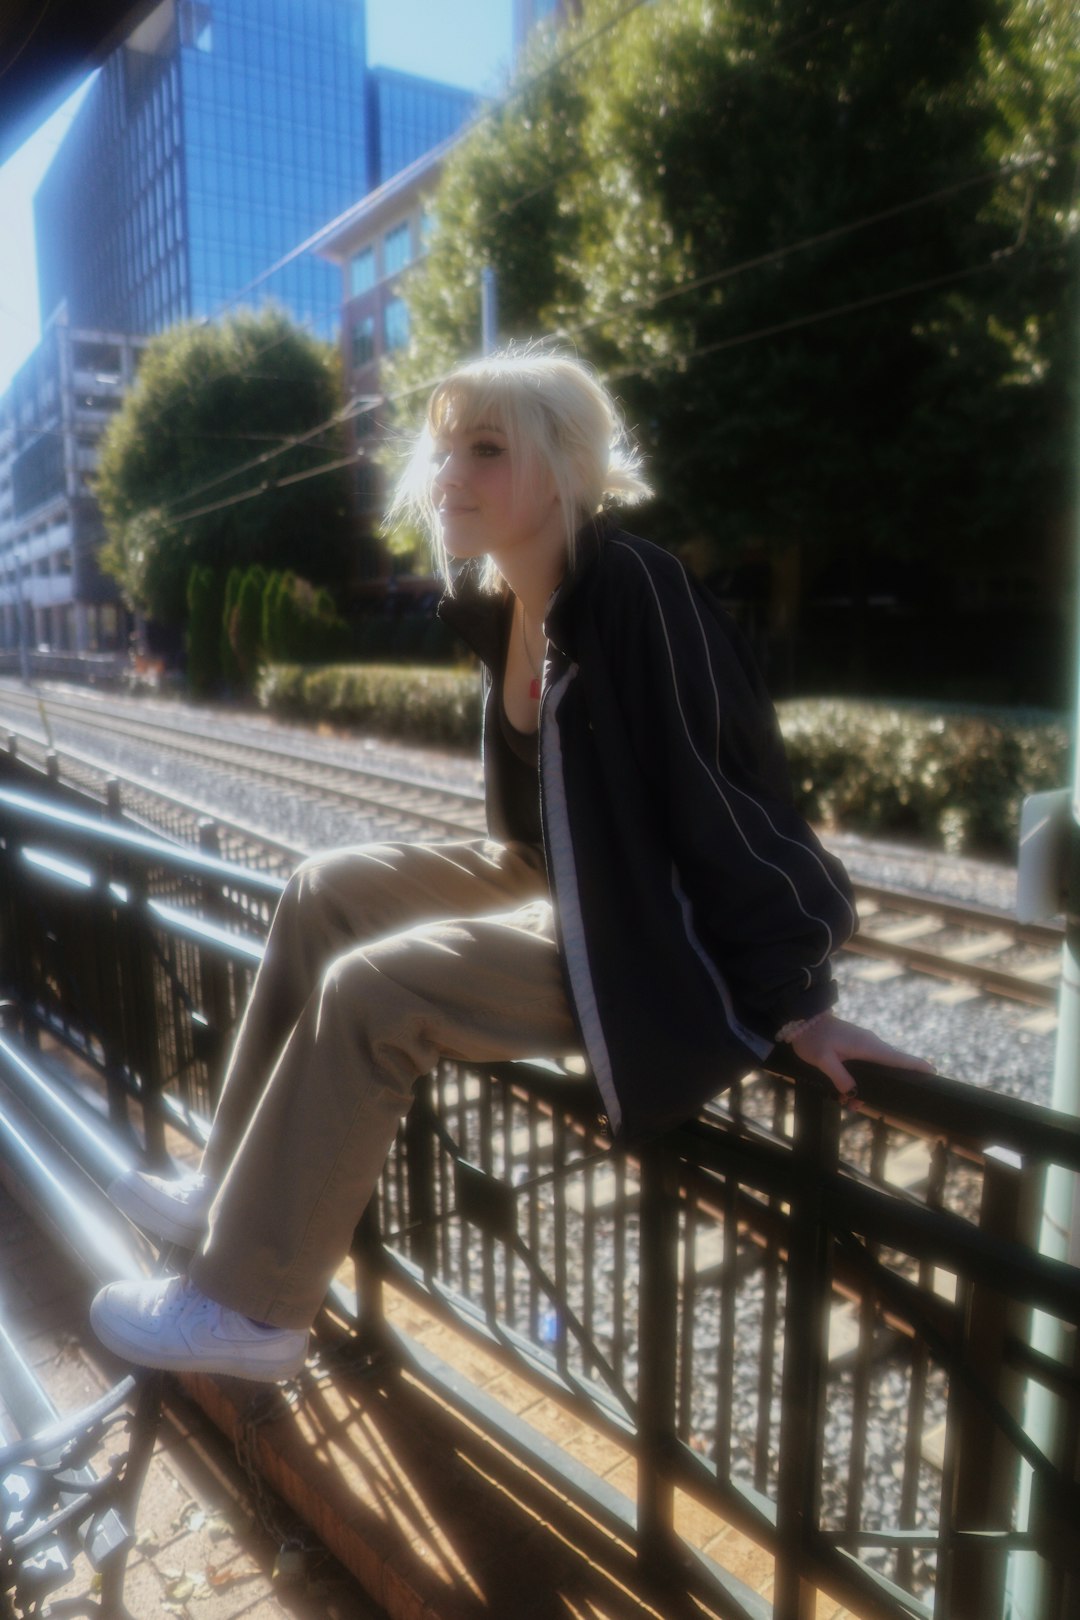
Step 2: Take a Picture of Yourself
Use your phone or camera to snap a well-lit photo. Make sure the lighting in your photo can be matched to the background. For example, don’t use a moody, dark selfie if your anime background is bright and sunny.
Tip: Take your photo from the same angle as the background (ex: eye level, from the side, etc.). It helps everything feel natural.
Step 3: Remove Your Photo Background
Once you have your picture, open it in Photoshop. Use the Select Subject or Quick Selection Tool to isolate yourself from the background.
Then:
- Press Ctrl+J (or Cmd+J on Mac) to duplicate your cut-out subject onto a new layer.
- Delete or hide the original background layer.
- Clean up the edges — zoom in and use the Refine Edge Brush Tool for tricky areas like hair.
Step 4: Place Yourself on the Background
Now, open your anime background in Photoshop. Drag your photo layer into the background document. Position yourself where it makes sense — standing by a bus stop? Looking out over a mountain view?
Then resize your cut-out to match the perspective of the background. Use Ctrl+T (Free Transform) to adjust.
Tip: Make yourself slightly smaller than usual — anime characters often have slightly exaggerated background scaling.
Step 5: Match Colors and Lighting
This is the secret sauce — making you blend in. Here’s how:
- Select your layer
- Go to Image > Adjustments and play with Brightness/Contrast and Hue/Saturation
- Add an Adjustment Layer with Color Balance and tweak the tones to match the anime colors
Pay close attention to light direction. If the background has light from the left, make sure the shadows on you match that direction.
Step 6: Add a Soft Anime Glow
Anime scenes often have a soft, dreamy look. Let’s give your image that magic!
Steps:
- Duplicate the entire image using Ctrl+Alt+Shift+E
- Apply a Gaussian Blur filter (Found under Filter > Blur) to the new layer
- Set that blurred layer’s blending mode to Soft Light or Overlay
Voila! You now have that hazy anime glow, like you’re in a memory or dream sequence.
Step 7: Add Anime-Style Shadows
Sometimes the lighting still looks off. Fix it with custom shadows:
- Create a new layer below your figure
- Use a soft black brush at low opacity
- Paint shadows where your feet touch the ground or where you’d naturally cast shade
- Use Gaussian Blur to soften the edges
This makes a huge difference in grounding you into the scene.
Bonus Tips
Want to go next-level? Try these fun extras:
- Add anime-style outlines – Duplicate your figure, apply a black stroke, and use a Multiply blend mode
- Put in some screen effects – Add floating petals, sparkles, or motion blur
- Use anime filters – There are Photoshop presets online that mimic anime shading and grain
Common Mistakes to Avoid
Nobody’s perfect! Watch out for these mistakes:
- Lighting mismatch – Your photo should feel like it belongs in that scene
- Perspective issues – Don’t float in the air unless it’s intentional!
- Hard edges – Soft brushing around your figure helps blend better
- Over-saturation – Keep colors gentle like a true anime aesthetic
Where to Share Your Masterpiece
Once you’ve made your anime world debut, it’s time to show off!
- Instagram – Use fun hashtags like #animeedit or #photoshopanime
- Reddit – Try subreddits like r/photoshopbattles and r/animeart
- Wallpaper or phone lock screen – You’re now the main character!
Conclusion
That’s it! Now you’ve got all the tools to dive into a world of anime through the power of Photoshop. Blend reality and imagination, and create your own magical scenes. Practice makes perfect, so don’t be afraid to keep experimenting.
And remember — in the anime universe, you’re always the hero of your own story.