Your iPhone is packed with productivity tools, but did you know you can integrate a Microsoft account directly into your Reminders app? This handy feature lets you manage tasks seamlessly across devices, blending Apple’s native apps with Microsoft’s services. If you rely on platforms like Outlook for your to-dos, email, or calendar, adding your Microsoft account to your iPhone can unify your workflow.
In this guide, we’ll walk you through the steps to set up your Microsoft account on your iPhone and sync it with the Reminders app. Whether you’re managing a team project or just organizing your personal tasks, this setup will help you get the best of both worlds.
Why Sync Microsoft Account With Reminders?
By connecting your Microsoft account to your iPhone, you can easily:
- Access reminders and tasks across devices: Sync your tasks from Microsoft’s To Do app or Outlook with your iPhone Reminders.
- Increase productivity: Manage all your tasks in one place, saving time and effort toggling between devices or apps.
- Leverage advanced features: Enjoy Apple’s native Reminders features like time and location-based notifications while using your Microsoft account tasks.
The process is fairly straightforward, so let’s get started.
Step-by-Step Guide to Add a Microsoft Account
1. Open iPhone Settings
To begin, go to the Settings app on your iPhone. Scroll down and look for the option labeled Passwords & Accounts (or Mail for some versions of iOS).
2. Add a New Account
In the Passwords & Accounts section, tap Add Account. You’ll see a list of services including iCloud, Google, Yahoo, and Microsoft Exchange. Select Outlook.com or Exchange, depending on the nature of your Microsoft account.
3. Enter Your Microsoft Account Credentials
After selecting Outlook.com or Exchange, you’ll be prompted to enter your email address and password associated with your Microsoft account. Make sure you have your credentials handy before proceeding.
For additional security, Microsoft might ask for a two-factor authentication code if you have it enabled, or you may need to confirm access via the Microsoft Authenticator app.
4. Toggle Sync Options
Once logged in, you’ll see a list of options to sync, such as Mail, Contacts, Calendars, and Reminders. Ensure that Reminders is enabled by sliding the toggle switch to the right. You can also enable other options based on your needs.
5. Save and Exit
After enabling the desired options, tap Save. Your Microsoft account is now added to your iPhone, and the tasks from your Microsoft To Do or Outlook will synchronize with the Reminders app automatically.
How to Verify the Sync
To confirm that everything is working correctly:
- Open the Reminders app on your iPhone.
- Look for a new list corresponding to your Microsoft account. This should appear alongside any existing lists.
- Try adding a test reminder in your Microsoft account’s list and verifying its synchronization across devices (e.g., on Outlook or Microsoft To Do).
Troubleshooting Tips
If something doesn’t work quite right, here are a few common fixes:
- Ensure a stable internet connection: A good Wi-Fi or cellular data connection is necessary for the sync process.
- Check login credentials: Ensure that your email and password are entered correctly.
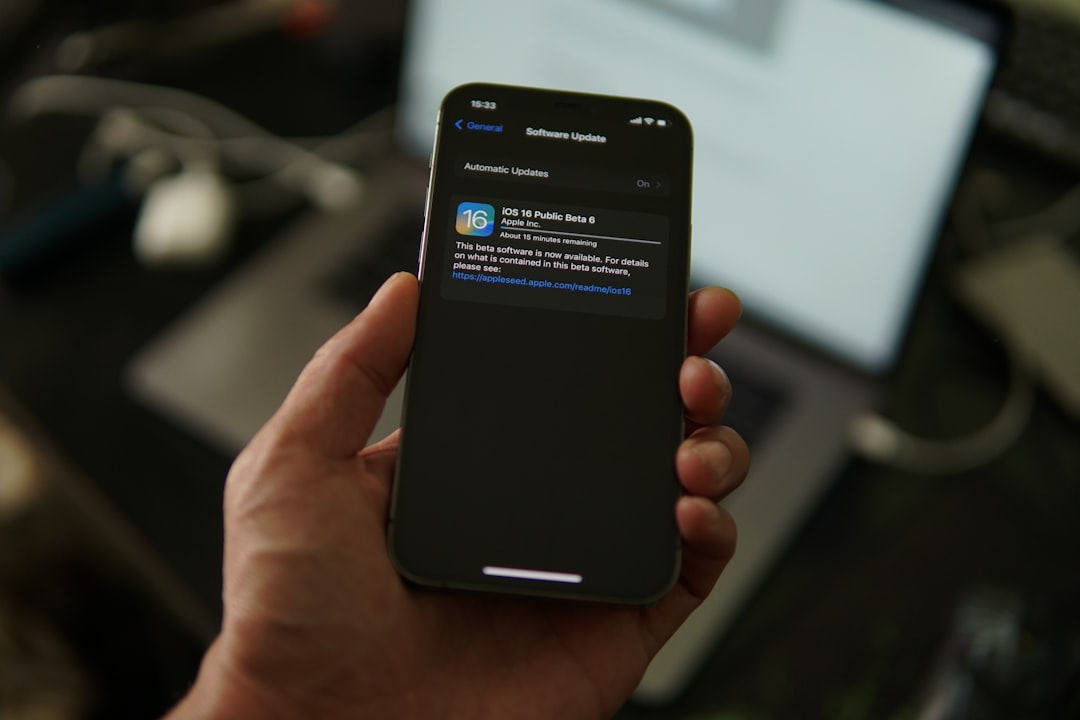
- Update your software: both iOS and the Reminders app should be running the latest versions available.
- Re-login: If sync issues occur, try removing and re-adding the Microsoft account.
Conclusion
Combining Microsoft’s powerful task management tools with the native features of iPhone makes it easier to organize your day. By adding your Microsoft account to the Reminders app, you can manage all your tasks efficiently and sync reminders seamlessly across platforms.
Follow the steps outlined above to get started, and enjoy the newfound productivity power of integrating your devices and services. Whether you’re at work or on the go, your tasks are always at your fingertips!